
One common challenge faced by WordPress users is the default upload size limit for media files. This limit can be restrictive, especially for those dealing with large files like videos or high-resolution images. Fortunately, WordPress allows you to adjust this limit to suit your needs. In this guide, we’ll walk you through the steps to increase the upload size limit in WordPress.
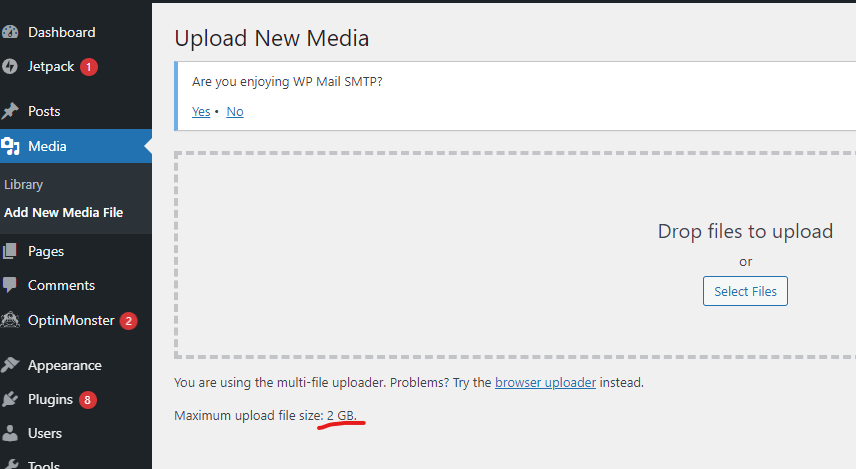
Step 1: Check Current Upload Limit Before making any changes, it’s essential to know your current upload size limit in WordPress. You can find this information by navigating to “Media” -> “Add New” in your WordPress admin dashboard. Below the upload area, you’ll see the maximum file size allowed for uploads.
Step 2: Edit php.ini File (For Self-Hosted WordPress)
- Access Your Server: If you’re using a self-hosted WordPress site, access your server using an FTP client or a file manager provided by your hosting provider.
- Locate php.ini File: Look for the
php.inifile in your server’s root directory. If it doesn’t exist, you may need to create one. Some hosting providers may allow you to create or modify thephp.inifile directly from their control panel.
Example: for Bitnami (Lightsail/AWS), the location is in the /opt/bitnami/php/etc/php.ini - Edit php.ini:
- Open the
php.inifile using a text editor. - Search for the following directives and modify their values to increase the upload limit:makefileCopy code
upload_max_filesize = 32M post_max_size = 32MReplace32Mwith your desired upload size limit (e.g.,100Mfor 100MB).
- Open the
- Save Changes: Save the
php.inifile and upload it back to your server if necessary.
Step 3: Edit .htaccess File (Alternative Method)
- Access Your Server: Follow the same steps to access your server as mentioned in Step 2.
- Locate .htaccess File: Look for the
.htaccessfile in your WordPress installation directory. If it doesn’t exist, you can create one. - Edit .htaccess:
- Open the
.htaccessfile using a text editor. - Add the following lines at the end of the file to increase the upload limit:Copy code
php_value upload_max_filesize 32M php_value post_max_size 32M php_value max_execution_time 300 php_value max_input_time 300Adjust the values (32M,300) according to your requirements.
- Open the
- Save Changes: Save the
.htaccessfile and upload it back to your server if necessary.
Step 4: Verify Changes
- Restart Apache (if necessary): If you made changes to the
php.inifile, you may need to restart the Apache web server for the changes to take effect. You can do this using your hosting provider’s control panel or via SSH if you have server access. - Test Upload: Go back to your WordPress admin dashboard and navigate to “Media” -> “Add New.” Try uploading a file larger than your previous limit to confirm that the changes were successful.
Conclusion: Increasing the upload size limit in WordPress can greatly improve your ability to work with large media files and enhance your website’s capabilities. By following the steps outlined in this guide, you can customize the upload limit to meet your specific needs and streamline your content management process in WordPress.
Leave a Reply
You must be logged in to post a comment.